
 aa.gif
用Native 做右边的箭头旋转效果,应该是件很简答的事情,但是用React Native就需要花费时间考虑下。因为这个控件很常用,所以应该做个封装,任何时候调用都可以。
React Native做简单动画使用框架内Animated即可以了,更高级的动画,可以去Google上查。下面就是封装这个控件的关键点:
1.封装的控件代码
changeRorateValue (){ this.changeValue+=180; Animated.timing( // Animate over time this.state.rotateValue, // The animated value to drive { toValue: this.changeValue, // Animate to opacity: 1 (opaque) duration: 400, // Make it take a while } ).start(()=> this.state.rotateValue.setValue(this.changeValue) ); }render() { return ( <TouchableOpacity onPress={ ()=>{ this.changeRorateValue() }} > <View style={{ flexDirection: 'row', justifyContent: 'center', alignItems: 'center', backgroundColor: (this.props.setBackgroundColor) ? this.props.setBackgroundColor : this.props.defaultColor, width: (this.props.setWidth !== 0) ? this.props.setWidth : 60, height: (this.props.setHeight !== 0) ? this.props.setHeight : 20, }} > <Animated.Image style={[{width:16,height:9, transform: [{ rotate: this.state.rotateValue .interpolate({ inputRange: [0, 360], outputRange: ['0deg', '360deg'] }) }]}]} source={require('../images/Down_Arrow.png')} /> </View> </TouchableOpacity> );}我们要定义一个外部可调用方法 changeRorateValue (),还需要 <TouchableOpacity onPress={
()=>{
this.changeRorateValue()
}} >留一个回调给外部控件使用
2.外部控件的调用
<TouchableOpacity style={{ flexDirection: 'row', justifyContent: 'flex-start', alignItems: 'center' }} onPress={() => {
this.test()
}}>
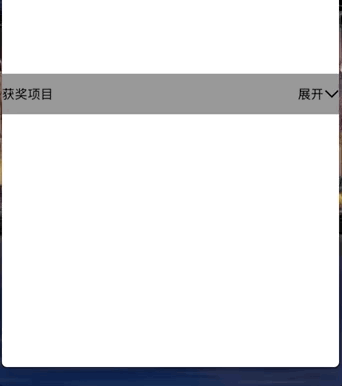
<Text style={{ flex: 1 }}>获奖项目</Text> <Text>{this.state.isTurnDown ?"开展":"收起"}</Text> <RotateArrowTwo ref='RotateArrow' setBackgroundColor='#999999' setWidth={16} setHeight={11} buttonName='ggsmifaf' block={() => { this.updateRotate() }} ></RotateArrowTwo> </TouchableOpacity> let result = !this.state.isTurnDown ; this.setState({ isTurnDown:result }) this.refs.RotateArrow.changeRorateValue();}
这里注意使用的ref,这样的话能保证封装的这个控件的独立性。
假如需要源码的朋友,可以在评论区留言,如有不对之处,还望指正。
